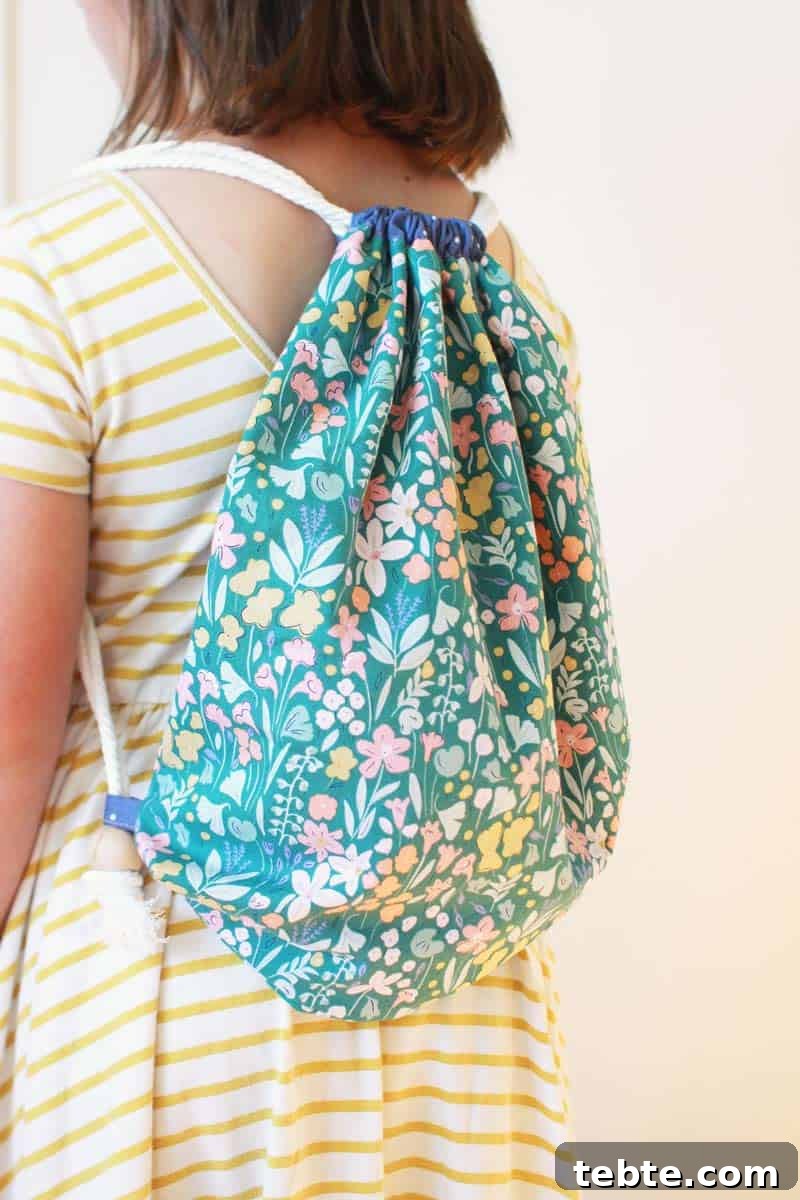
Learn how to sew a DIY drawstring backpack with this easy, step‑by‑step tutorial. This is a simple sewing project for beginners — you only need a few basic skills. The fully lined bag can be completed in under two hours.
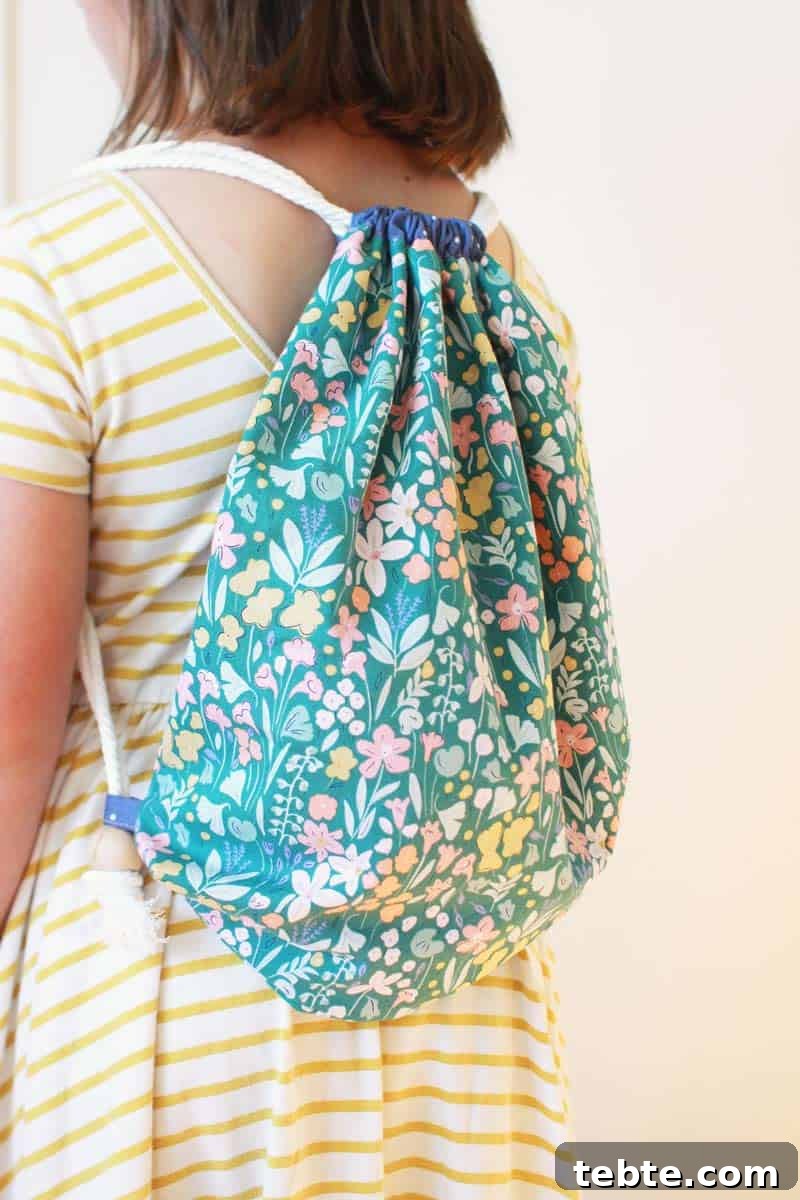
My three older daughters (ages 11, 9 and 7) wanted small backpacks to take on school outings and playdates. I love sewing, so I decided to make them a few backpacks. I designed the bags with adjustable straps so they fit a range of ages, and I lined them fully so no raw edges are exposed.
This is a quick, satisfying project that’s perfect for practicing basic sewing techniques. The bags turned out well and my girls are delighted — I think you’ll enjoy making one too.
Note: this article originally contained product references. Use the supplies you already have or choose similar items locally.
Why you’ll like this project:
perfect for beginners
This drawstring backpack is an excellent starter project. The pattern is straightforward and only requires basic sewing supplies and simple techniques like straight stitching, pressing, and box corners.
quick to make
Because the design is simple and construction is efficient, you can sew a lined backpack in about two hours from start to finish.
requires basic supplies
You only need a sewing machine, pins, seam ripper, fabric scissors, thread and an iron — items most sewists already own.
low cost
This project is budget friendly: a half yard of fabric for the exterior and another half yard for the lining will make a complete bag, and inexpensive cord and beads finish the straps.
pictures for every step
To make the process clear, the tutorial includes photos illustrating each step so you can follow along confidently.
what you need to sew a Simple drawstring backpack:
materials
- 1/2 yard of main fabric – cotton or another sturdy fabric for the outside of the backpack.
- 1/2 yard of coordinating fabric – cotton for the lining and tabs.
- 4 yards of thick cording, rope or strong cord – to form the backpack straps.
- Thread – a color that coordinates with your fabrics.
- 2 large beads – optional, to stop the knots from pulling through the bottom tabs.
supplies
- Sewing machine – any reliable machine with a straight stitch will work.
- Seam ripper – for opening small seams where needed.
- Pins – straight pins or clips to hold pieces while sewing.
- Fabric scissors – sharp shears for clean cutting.
- Iron and ironing board – pressing is important for neat seams and casings.
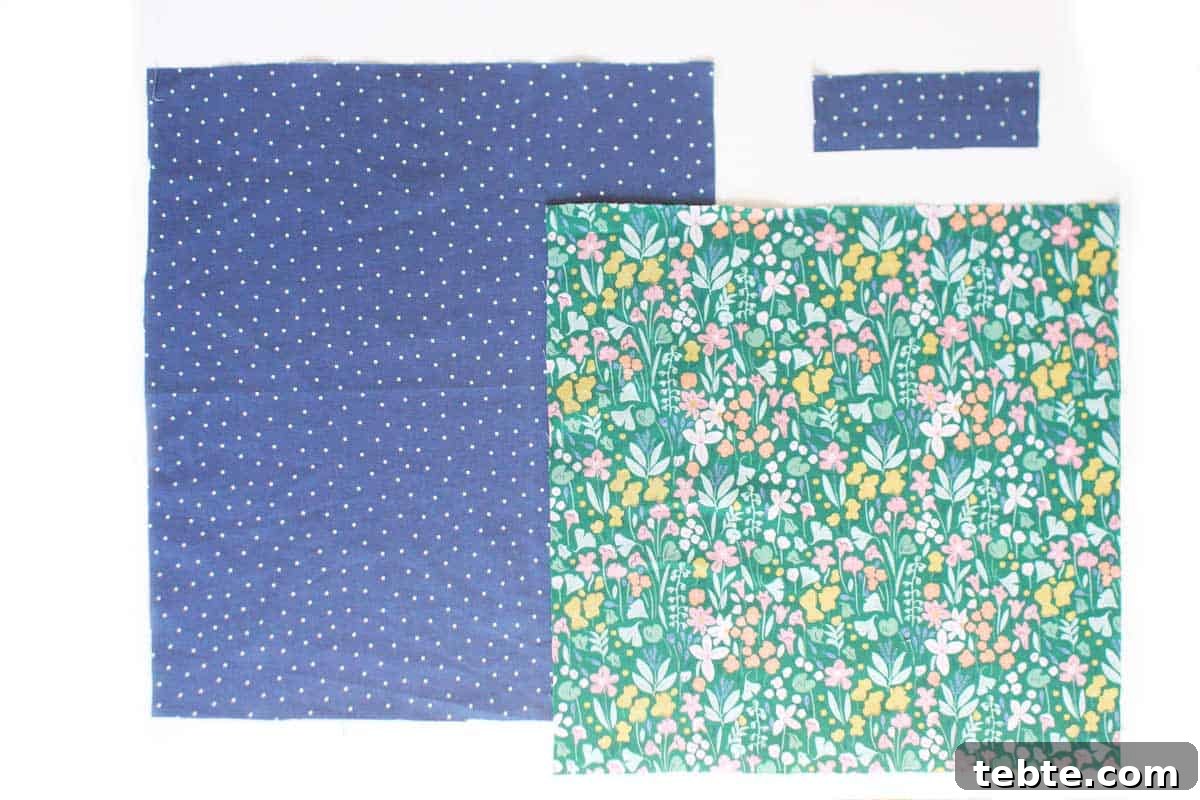
Cutting Directions for one Backpack:
Cut these pieces:
- 2 rectangles 15″ x 15″ – from the outside fabric.
- 2 rectangles 15″ x 17.5″ – from the lining fabric.
- 1 rectangle 2″ x 6″ – from the lining fabric for tabs.
how to sew a Lined drawstring backpack:
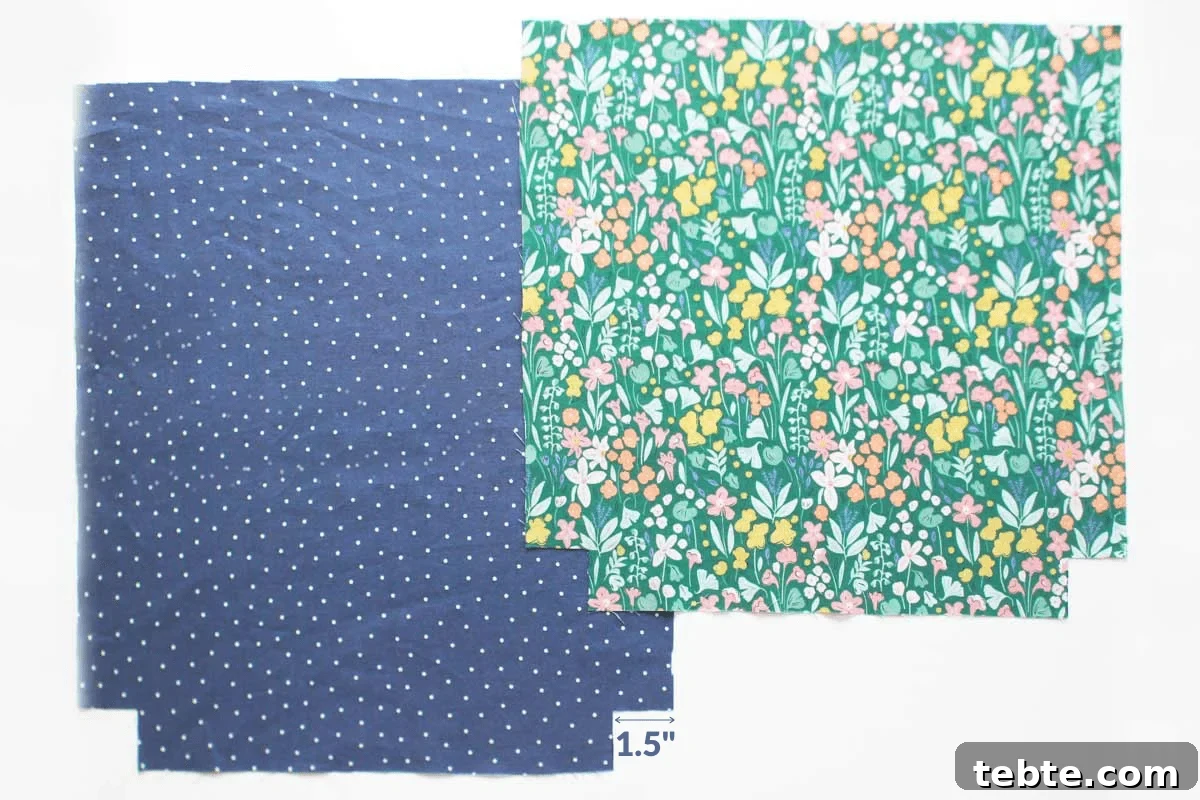
Step 1: Prepare the corners
Cut a 1.5″ x 1.5″ square from each bottom corner of the two outside pieces and each lining piece. These removed squares create the boxed corners that give the bag depth.
Step 2: Make the bottom tabs
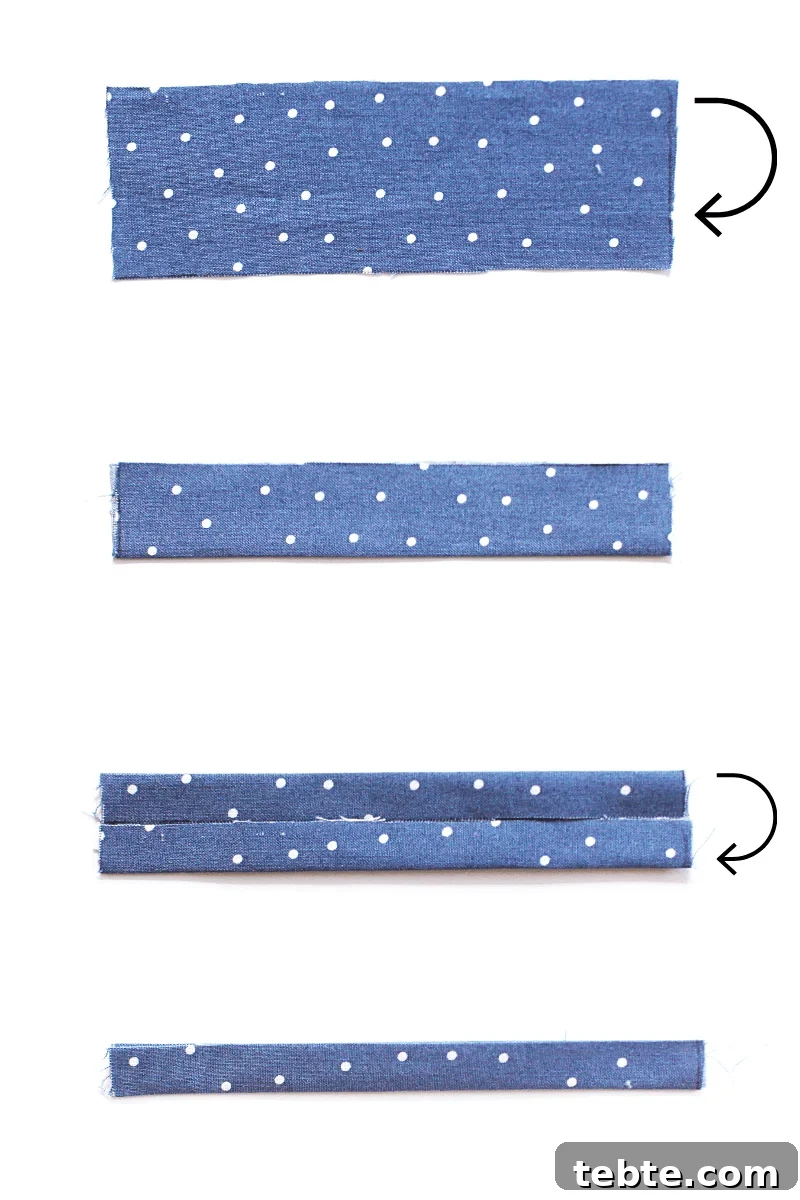
Fold the 2″ x 6″ rectangle in half lengthwise and press. Open it, fold each long edge to the center crease, press, then fold in half and press again to form a narrow folded strip approximately 1/2″ wide. Topstitch close to the open edge, then cut the strip in half to make two 3″ tabs. Fold each tab in half and baste them to the outside pieces about 1″ above the corner cutouts.
Step 3: Sew the sides and bottom
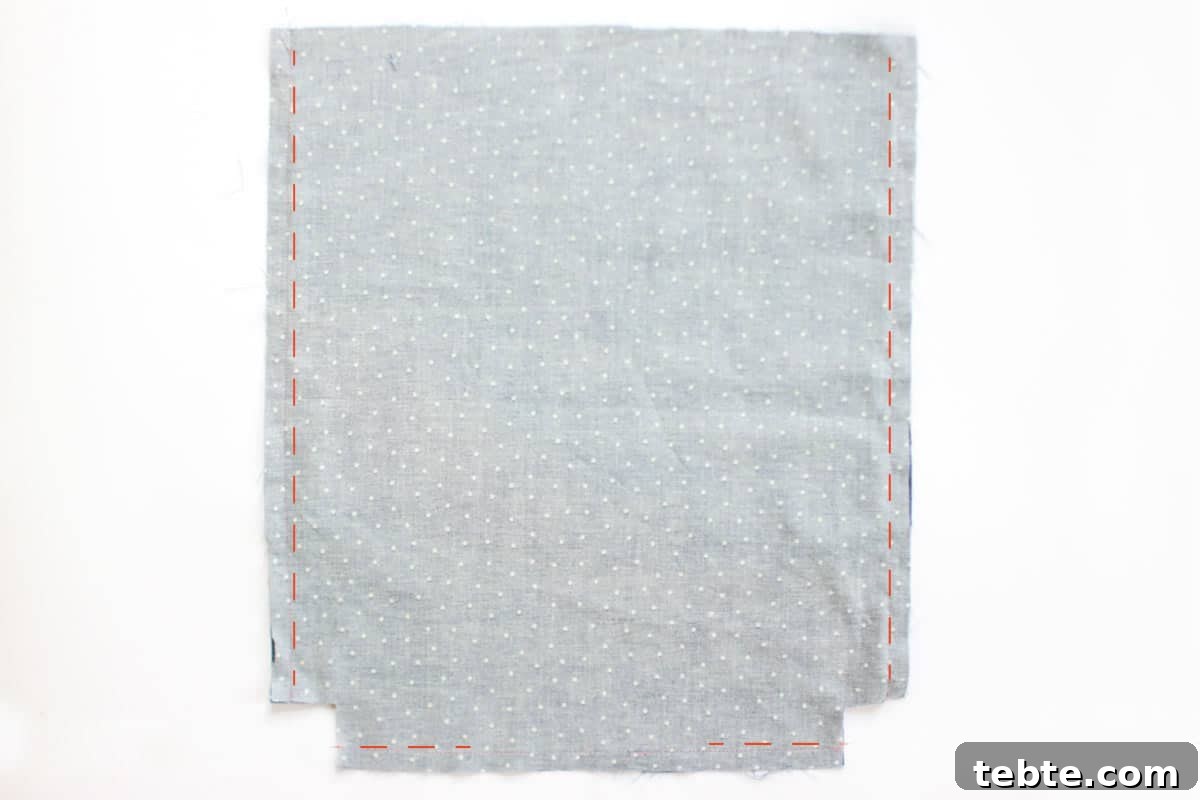
With right sides together, sew the two outside pieces together along the sides and bottom using a 1/2″ seam allowance, stopping at the corner cutouts. Repeat for the two lining pieces, but leave a 3″ opening in the bottom seam of the lining for turning later. Press seam allowances open.
Step 4: Box the corners
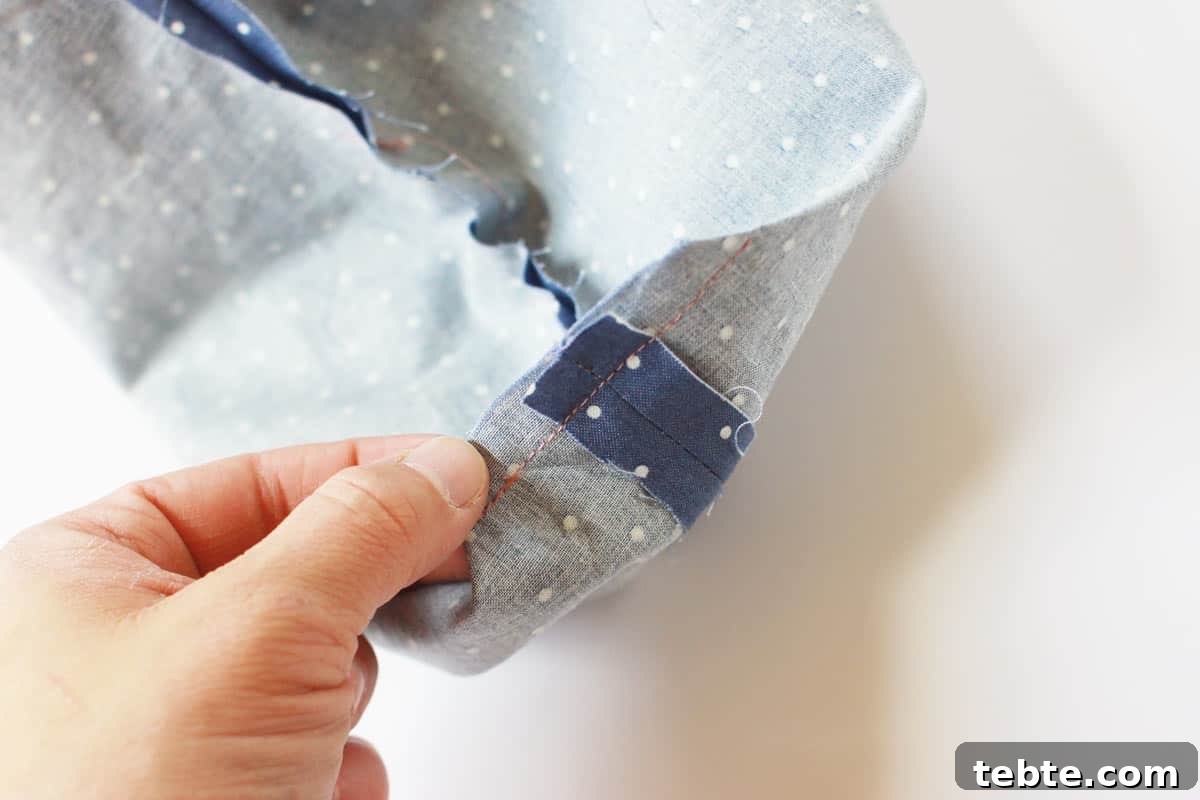
To box the corners, pinch each corner so the side seam and bottom seam line up. The raw edges of the cutout should form a straight line; sew across that line with a 1/2″ seam allowance. Trim excess if needed and press.
Step 5: Join lining and outer bag
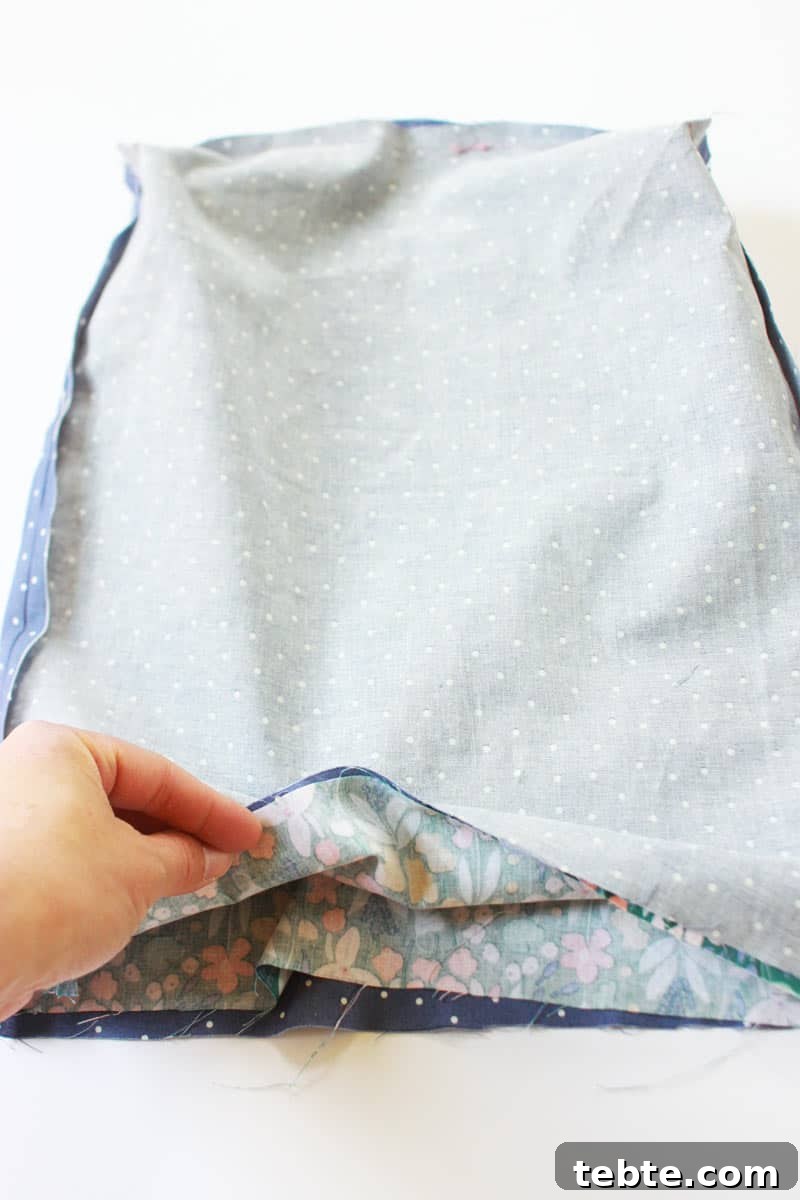
With right sides together, place the outer bag inside the lining and align the top edges. Stitch around the top to join them. Use the gap left in the lining bottom to turn the bag right side out. Close that gap by hand or machine stitching, then press the top edge flat.
Step 6: Create the drawstring casing
Fold the lining fabric up about 1″ so it shows from the outside and press. Stitch close to the seam between the lining and outer fabric to form the casing. Carefully use a seam ripper to remove a few stitches at the side seams of the casing to create openings for the cords. Reinforce the top edge with a few backstitches so the openings won’t unravel.
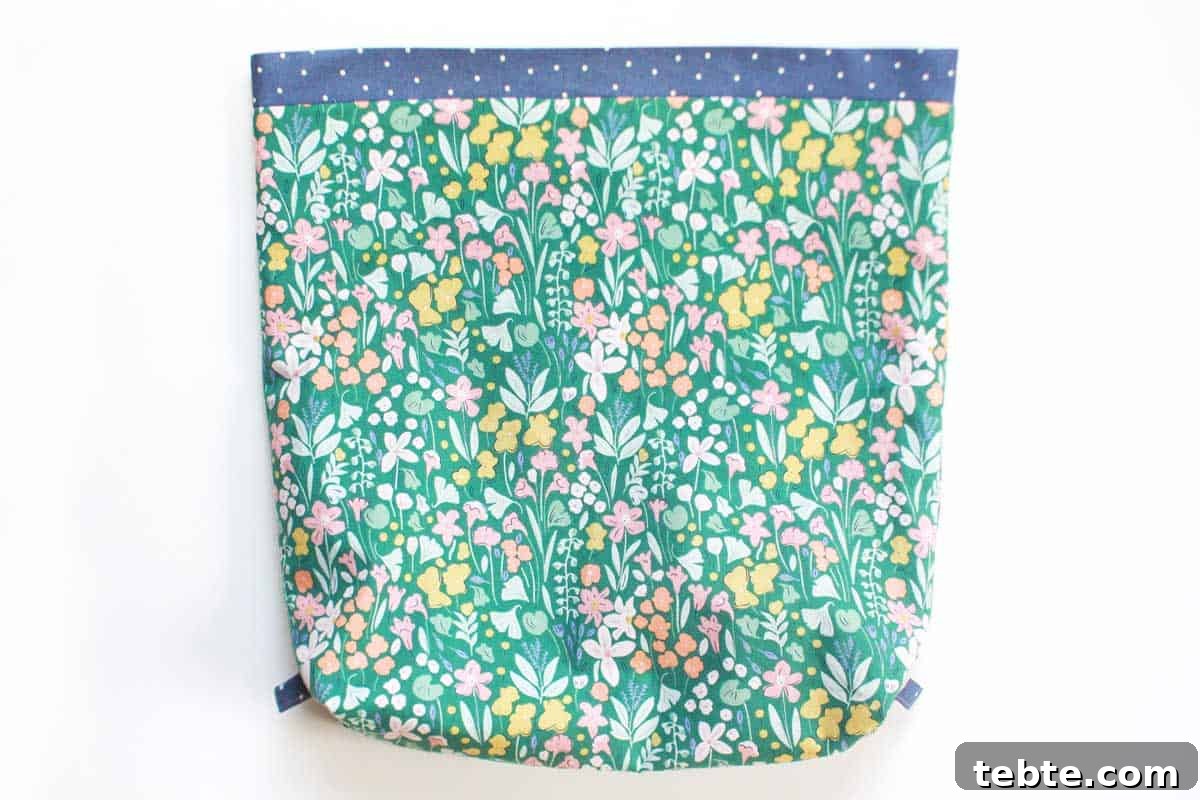
Step 7: Add the drawstring straps
Cut two lengths of cord about 2 yards each. Wrapping tape around the ends helps feed them through the casing without fraying. Thread the first cord through the casing so it returns to the starting hole, and repeat with the second cord so there are two cords emerging from each side. Feed the cord ends through the bottom tabs and through the beads, then try the bag on to adjust strap length. When satisfied, tie secure knots under each bead and trim the excess cord.
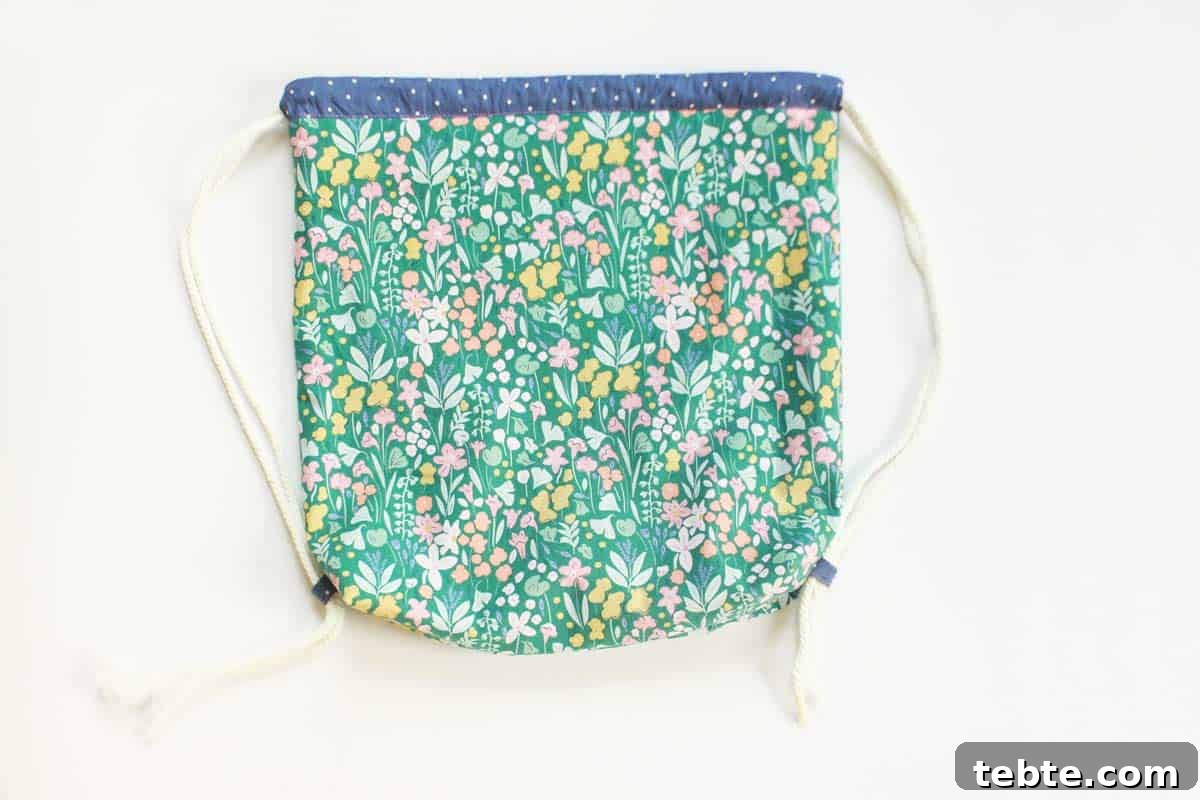
Once the knots are secure and trimmed, your lined drawstring backpack is finished and ready to use.
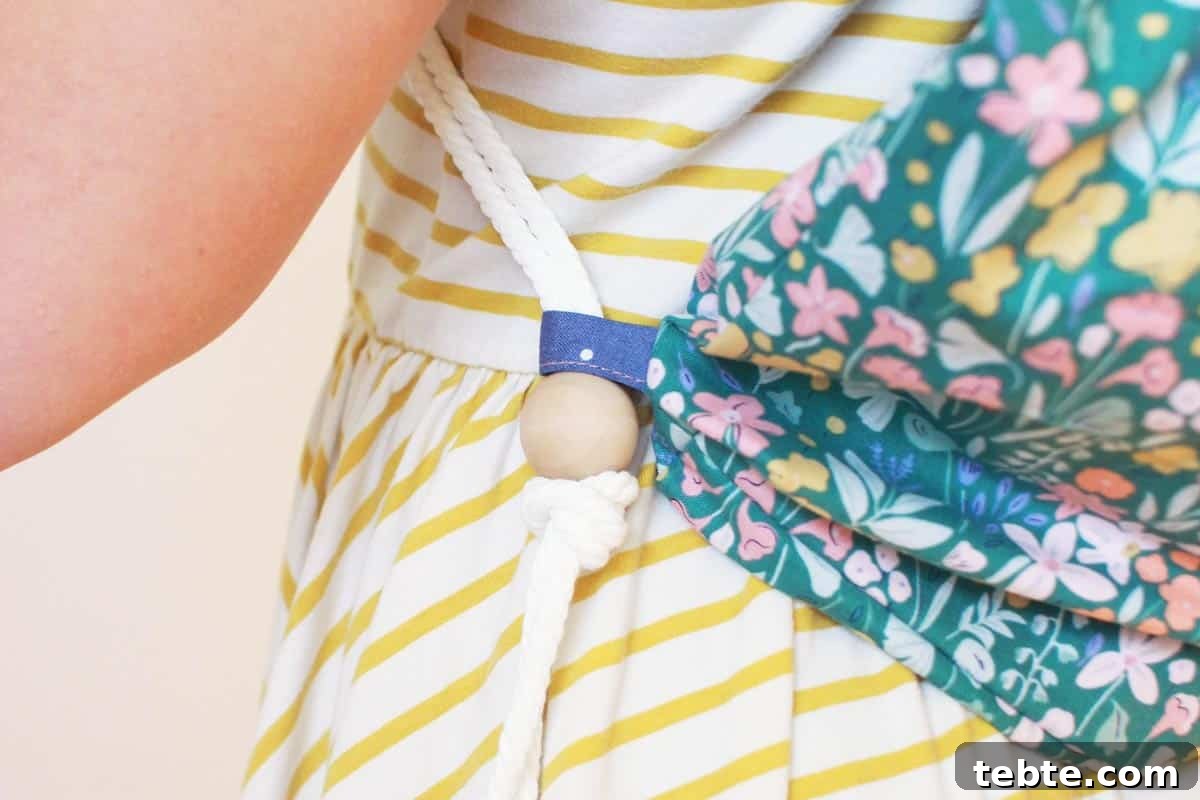
Try the bag on and make any final adjustments so the straps sit comfortably. Tie tight knots under the beads and trim the ends neatly.
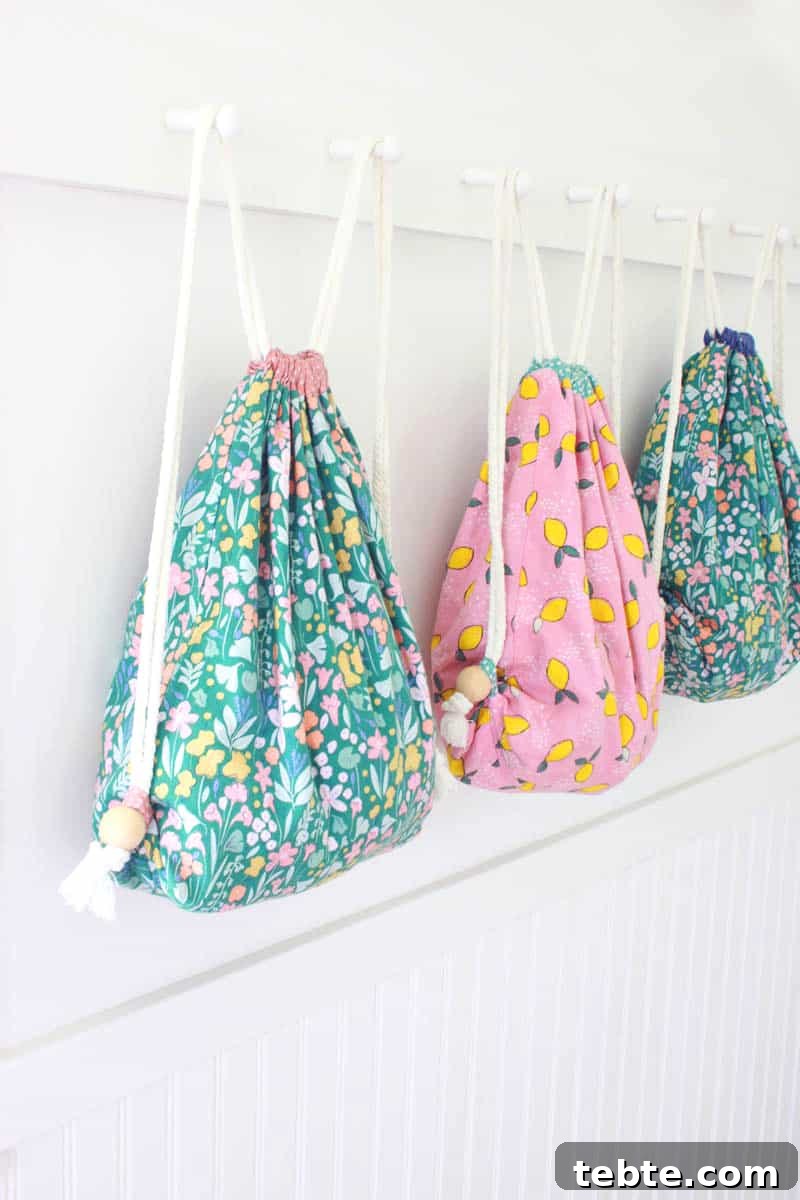
More Sewing Projects for Beginners:
If you enjoyed this tutorial, consider trying other beginner projects like scrunchies, potholders, or small sachets. These short projects are great for practicing basic skills and building confidence.
- DIY scrunchie — a quick project to practice seams and elastic casing.
- Simple potholders — useful practice for layering, quilting cotton and topstitching.
- Lavender sachets — small sewn pouches that make great gifts and use up fabric scraps.
I hope you enjoy making this lined drawstring backpack. If you give it a try, please come back and leave a comment so I know how it turned out for you!
Pin these steps to try later. Share your finished bag on Instagram and tag the maker to show what you’ve created!